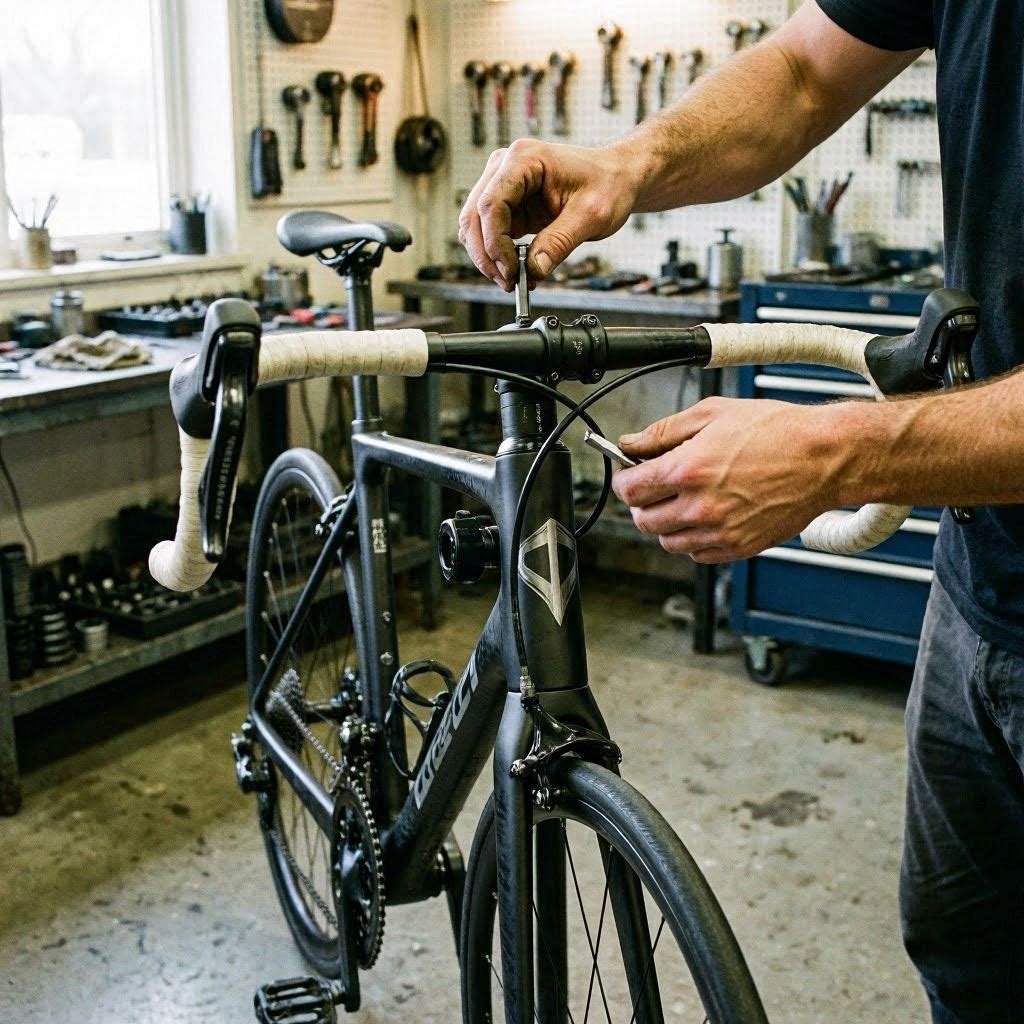
An adjustable stem for a road bike is the ideal solution for cyclists who want to fine-tune their riding position without repeatedly buying new fixed stems. Thanks to its pivoting, lockable joint, it lets you alter the handlebar angle within seconds — giving you unmatched flexibility to dial in your posture whether you are new to road cycling, returning after injury, or simply chasing a more comfortable fit on long rides.
In this complete guide, we explain how an adjustable stem works, how to choose the right one for your bike and body shape, which angle ranges suit which riding styles, and how to install it safely and correctly.
1. What is an adjustable stem for a road bike?
The stem is the component that connects the handlebar to the steerer tube of the fork. On a road bike, it directly determines your reach (horizontal distance to the bars) and stack (handlebar height) — the two parameters that define your position in the saddle.
A standard fixed stem is a single-piece unit: its angle is set at manufacture and can only be changed by flipping the stem (swapping a positive rise for a negative drop, or vice versa). An adjustable stem, by contrast, features a lockable pivot joint — usually a hinged body secured by one or two Allen bolts or a cam-lever — that allows you to alter the angle across a range that varies from a few degrees to over 60°, depending on the model.
Key takeaway: An adjustable stem does not replace a professional bike fit, but it is an excellent tool for exploring different positions before committing to a fixed stem — or for adapting as your flexibility and riding goals evolve over time.
Anatomy of an adjustable stem
- Upper clamp body: the section that clamps onto the steerer tube via the stem collar and compression plug.
- Pivot joint: the lockable hinge at the centre, typically secured by one or two 4 mm or 5 mm Allen bolts.
- Faceplate: the front plate that holds the handlebar in place, usually with 2 or 4 bolts.
- Angle markings: engraved graduations on the body let you read and reproduce a precise angle setting.
2. Pros and cons vs. a fixed stem
An adjustable stem has a different profile from a fixed stem. Here is an honest overview of the strengths and limitations to help you decide.
✓ Advantages
- Fine-tune your position without replacing the part
- Ideal for cyclists mid-fit or returning from injury
- Lets you adapt your posture to the ride (endurance vs. spirited)
- Cost-effective: one component covers multiple positions
- Makes sharing a bike between riders of different sizes easier
- Compatible with most modern road bike standards
✗ Disadvantages
- Slightly heavier than a fixed stem of the same grade (+ 30–80 g)
- Lower stiffness due to the pivot joint
- Not recommended for racing where every gram and watt matters
- The angle lock must be checked regularly (risk of slipping under load)
- Generally less sleek in appearance than a monoblock stem
For sportive riding, endurance cycling, touring or fitness use, an adjustable stem is an excellent choice. For racing or riders seeking maximum stiffness, a fixed road bike stem remains the better option.
3. Angle range: which values suit your riding style?
The angular range of an adjustable stem determines how much adjustment is available. Models on the market fall into three main families.
| Angle range | Rider profile | Recommended use | Notes |
|---|---|---|---|
| ±17° (−17° / +17°) | Experienced sportive rider | Sportive events, gran fondos | Stiffness close to a fixed stem |
| 0° / +40° | All-round cyclist | Endurance, touring, commuting | Good comfort / practicality balance |
| 0° / +60° | Beginner, senior, rehabilitation | Leisure riding, therapeutic use | Very upright position achievable |
How does angle affect your riding position?
The more positive (upward) the stem angle, the higher the handlebar rises — relieving pressure on your lower back and neck, at the cost of a less aerodynamic position. Conversely, a neutral or negative (dropped) angle lowers the bar, lengthens your reach, and promotes an aerodynamic position — but demands greater lumbar flexibility.
For more detail on finding your optimal angle based on your body shape, see our guide on road bike stem adjustment.
Practical tip: If you do not yet know your ideal angle, start with a positive rise of 10°–15° and gradually drop by 5° increments over several rides until you find the position where your arms are slightly bent without shoulder tension or lower back pain.
4. Compatibility: steerer tube and handlebar standards
Before purchasing, verify two critical measurements on your bike.
Steerer tube diameter
On the vast majority of modern road bikes, the standard is 1-1/8 inch (28.6 mm) — this is the internal bore of the stem clamp that fits over the steerer. Some older bikes use the 1-inch (25.4 mm) standard, and a small number of performance frames use 1-1/4 inch (31.8 mm) tapered steerers. If in doubt, measure the bare steerer tube (without the headset installed) with a calliper.
Handlebar clamp diameter
Current road bikes overwhelmingly use the oversize 31.8 mm standard at the handlebar centre section. Older bikes may carry a 25.4 mm or 26.0 mm bar. Check the engraving on your handlebar's centre clamp area to confirm the diameter before ordering.
| Parameter | Current standard | Older standards | How to check |
|---|---|---|---|
| Steerer tube | 1-1/8" (28.6 mm) | 1" (25.4 mm) — 1-1/4" (31.8 mm) | Calliper on bare steerer |
| Handlebar clamp | 31.8 mm (oversize) | 25.4 mm — 26.0 mm | Engraving on handlebar centre |
| Length | 80–120 mm (road) | Varies by rider | Stem length guide |
For guidance on selecting the right stem length for your proportions, see our article on what stem length to choose for a road bike.
5. How to choose your adjustable road bike stem
Four criteria will help you narrow down the right model from the options available.
Criterion 1 — Length
For road bikes, the most common lengths fall between 80 and 120 mm. A shorter stem (80–90 mm) sharpens steering response and suits riders with a shorter torso or who prefer an upright position. A longer stem (110–120 mm) extends your reach and suits taller riders or those targeting a performance-oriented, lower position.
Criterion 2 — Angle range
Choose a wide range (0° to +40° or +60°) if you are still exploring your position or recovering from injury. Opt for a narrower range (±17°) if you already have a rough idea of your target angle and prioritise stiffness over maximum adjustability.
Criterion 3 — Material
Adjustable stems are almost exclusively made in aluminium — the pivot joint design does not lend itself to carbon fibre, which is too brittle under the repeated clamping forces involved. Look for 6061 or 7075 alloy construction and check the quality of the locking bolts, as these are the highest-stress points over time.
To compare materials across fixed stem options, see our article on carbon road bike stems.
Criterion 4 — Locking mechanism
Favour a design with two symmetrical locking bolts over a single central bolt, which is more prone to slipping under load. Make sure the manufacturer specifies a precise tightening torque for the angle lock — a value between 10 and 15 Nm is standard on quality models. Avoid any stem where the locking torque is not stated.
6. How to install an adjustable stem on a road bike
Installing an adjustable stem follows the same process as a standard fixed stem, with one additional step to lock the angle. Here is the complete procedure.
Tools you will need
- 4 mm and 5 mm Allen keys (a full set is recommended)
- Torque wrench (essential for correct tightening)
- Grease or assembly paste (depending on steerer material)
- Degreaser and clean rag
-
Remove the old stem
Undo the 2 or 4 faceplate bolts and set the handlebar to one side — leave all cables attached. Undo the top cap bolt (star nut or compression plug). Remove the spacers, noting their order. Slide the stem upwards off the steerer tube. -
Prepare the steerer and new stem
Clean the steerer with degreaser. Apply a thin layer of grease (or carbon assembly paste if the steerer is carbon fibre). Check that the stem's bore diameters match your steerer tube and handlebar. -
Set and lock the desired angle before fitting
Loosen the pivot bolt(s) on the adjustable stem. Set the upper body to your chosen angle using the engraved markings as a guide. Tighten the angle-locking bolts to the manufacturer's specified torque (typically 10–15 Nm). Do not attempt to adjust the angle once the stem is installed on the bike — always remove it first. -
Fit the stem onto the steerer
Slide the stem down over the steerer tube and replace the spacers in the correct order. Thread in the top cap bolt finger-tight only — at this stage the goal is to set headset bearing preload, not to clamp the stem in rotation. Check for play by squeezing the front brake and rocking the bike: no knocking should be felt. -
Align the stem
Stand behind the saddle and sight along the stem towards the front wheel. The stem must be perfectly in line with the wheel. A length of string stretched between the two wheels can serve as a reference. Once aligned, tighten the steerer clamp bolts to the specified torque (typically 5–6 Nm for aluminium). -
Refit the handlebar and tighten the faceplate
Place the handlebar back in the faceplate recess. Tighten the faceplate bolts in a cross pattern, gradually — do not fully tighten one bolt before the others. Torque to the manufacturer's specification — typically 4–6 Nm for aluminium handlebars. Never exceed this value; over-tightening can crush the bar or strip the threads. -
Carry out safety checks
Clamp the front wheel between your knees and attempt to rotate the handlebar: no movement should be possible. Then try to push the bar up and down: again, no movement. Take a slow test ride before any full-effort outing.
For a full step-by-step walkthrough of stem removal and replacement, see our guide on how to change a road bike stem.
Safety reminder: Check the angle lock on your adjustable stem after every major ride for the first month of use, and at every routine service thereafter. An angle that slips under load can cause sudden loss of steering control.
7. FAQ — Adjustable stems for road bikes
Conclusion
An adjustable stem for a road bike is a versatile and genuinely useful component for any cyclist looking to refine their position without buying multiple fixed stems. It is the right choice for riders in the middle of a bike fit, sportive cyclists who alternate between comfort and performance positions, and anyone returning to cycling after an injury or a long break.
The essentials before buying: verify compatibility (1-1/8" steerer and 31.8 mm handlebar clamp), select an angle range that suits your riding style, and always install with a torque wrench to guarantee your safety.
Explore our full range of road bike stems — fixed, adjustable, aluminium and carbon — in our dedicated category.