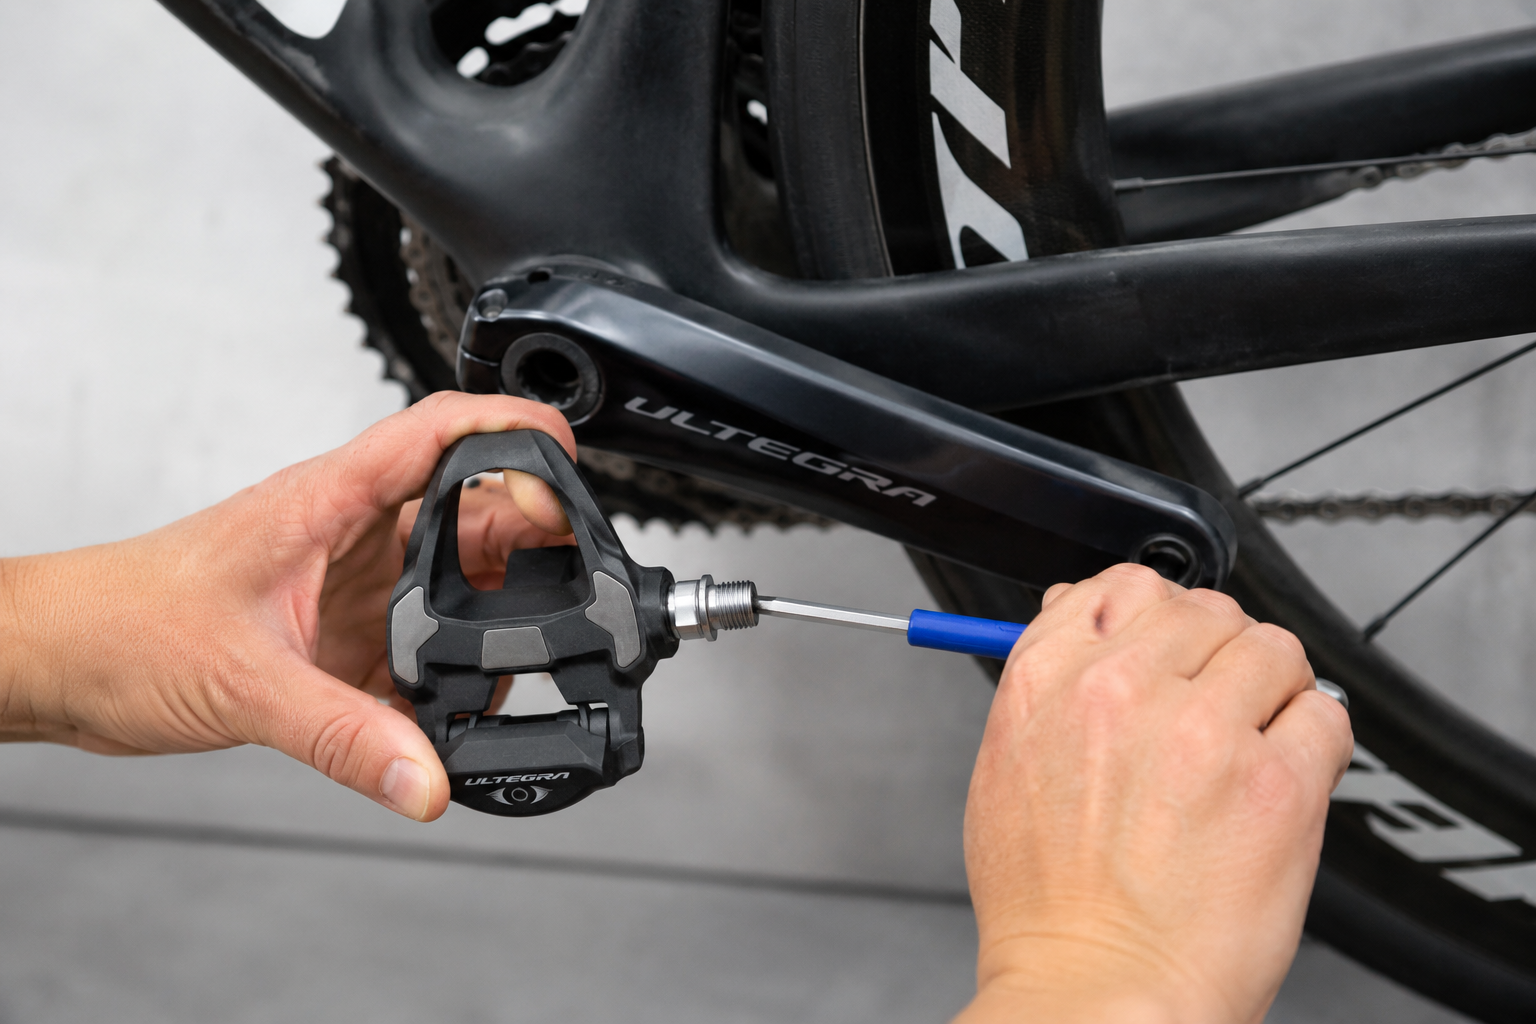
Changing your pedals is one of the simplest maintenance jobs you can do yourself on a road bike: two basic tools are all you need, and the operation rarely takes more than ten minutes. However, a few important points require attention, starting with the reversed threading direction between the right and left sides, to avoid damaging the crankset threads. Here is the complete procedure, step by step.
For technical details on threading, tightening direction and the recommended torque, see our complete road bike pedal guide.
1. Tools you will need
Changing pedals does not require any brand-specific tools. Only the type of fitting varies from one model to another:
- 15 mm open-ended wrench, for pedals whose axle has two flat surfaces that can be gripped directly.
- 6 or 8 mm Allen key, for pedals with a hexagonal fitting accessible from the inside of the crank arm, which is the most common design on recent models.
- Thread grease, essential before reinstalling the pedals.
- A cloth, to clean the threads before applying fresh grease.
2. Before you start: identify the right and left pedals
This is the most important step in the entire procedure and should be checked before you even pick up a wrench. A letter is engraved directly on the axle of each pedal: R or D for the right pedal, and L or G for the left pedal.
Warning: the threads are reversed between the two sides (see our main guide for details). Accidentally forcing a left/right pedal onto the wrong side can permanently damage the crank arm threads. Take the time to check the identification carefully before starting. This is the most common mistake and the most expensive one to fix.
3. Remove the existing pedals
- Position the corresponding crank arm horizontally, pointing toward the front of the bike, to ensure good support and a comfortable leverage position with the wrench.
- Place the wrench on the flats of the pedal axle, or insert the Allen key into the fitting located on the inside of the crank arm, depending on your model.
- Unscrew in the appropriate direction for each side: counterclockwise for the right pedal, clockwise for the left pedal (a reminder of the reversed threading direction already explained in our main guide).
- If a pedal is unusually difficult to remove, it may be seized due to corrosion or lack of maintenance. Applying a small amount of penetrating oil and allowing it to work for a few minutes will often help loosen it. Avoid applying excessive force, as this could damage the threads. For a more detailed diagnosis in the event of persistent seizing, see our article pedal cleat squeaking or seizing: causes and solutions.
4. Prepare the threads before installation
- Clean the crank arm threads with a cloth to remove any traces of old grease, dust or residue.
- Check the condition of the threads: the absence of burrs or signs of abnormal wear is a good indication before proceeding. If you have any doubts about the condition of the threads, it is better to have the crankset inspected by a professional rather than forcing the installation.
- Apply a thin layer of fresh grease to the crank arm threads before installing the new pedal. This will make future removal easier and help protect against corrosion.
5. Install the new pedals
- Start by threading them by hand for a few turns, without using any tools, to make sure the threads engage correctly and avoid any risk of cross-threading.
- Tighten with a wrench to the recommended torque (see our main guide for the exact value). If you have a torque wrench, this is the ideal time to use it to ensure precise tightening, especially with carbon crank arms.
- Repeat the process on the other side, remembering that the threading direction is reversed between the right and left pedals.
6. Final checks before riding
- Rotate each pedal by hand to check for any stiffness or unusual noise.
- Check that there is no lateral play at the axle by applying light pressure.
- If you have just installed new clipless pedals, remember to adjust the release tension before your first ride: our article how to adjust the release tension of your clipless pedals explains the procedure in detail.