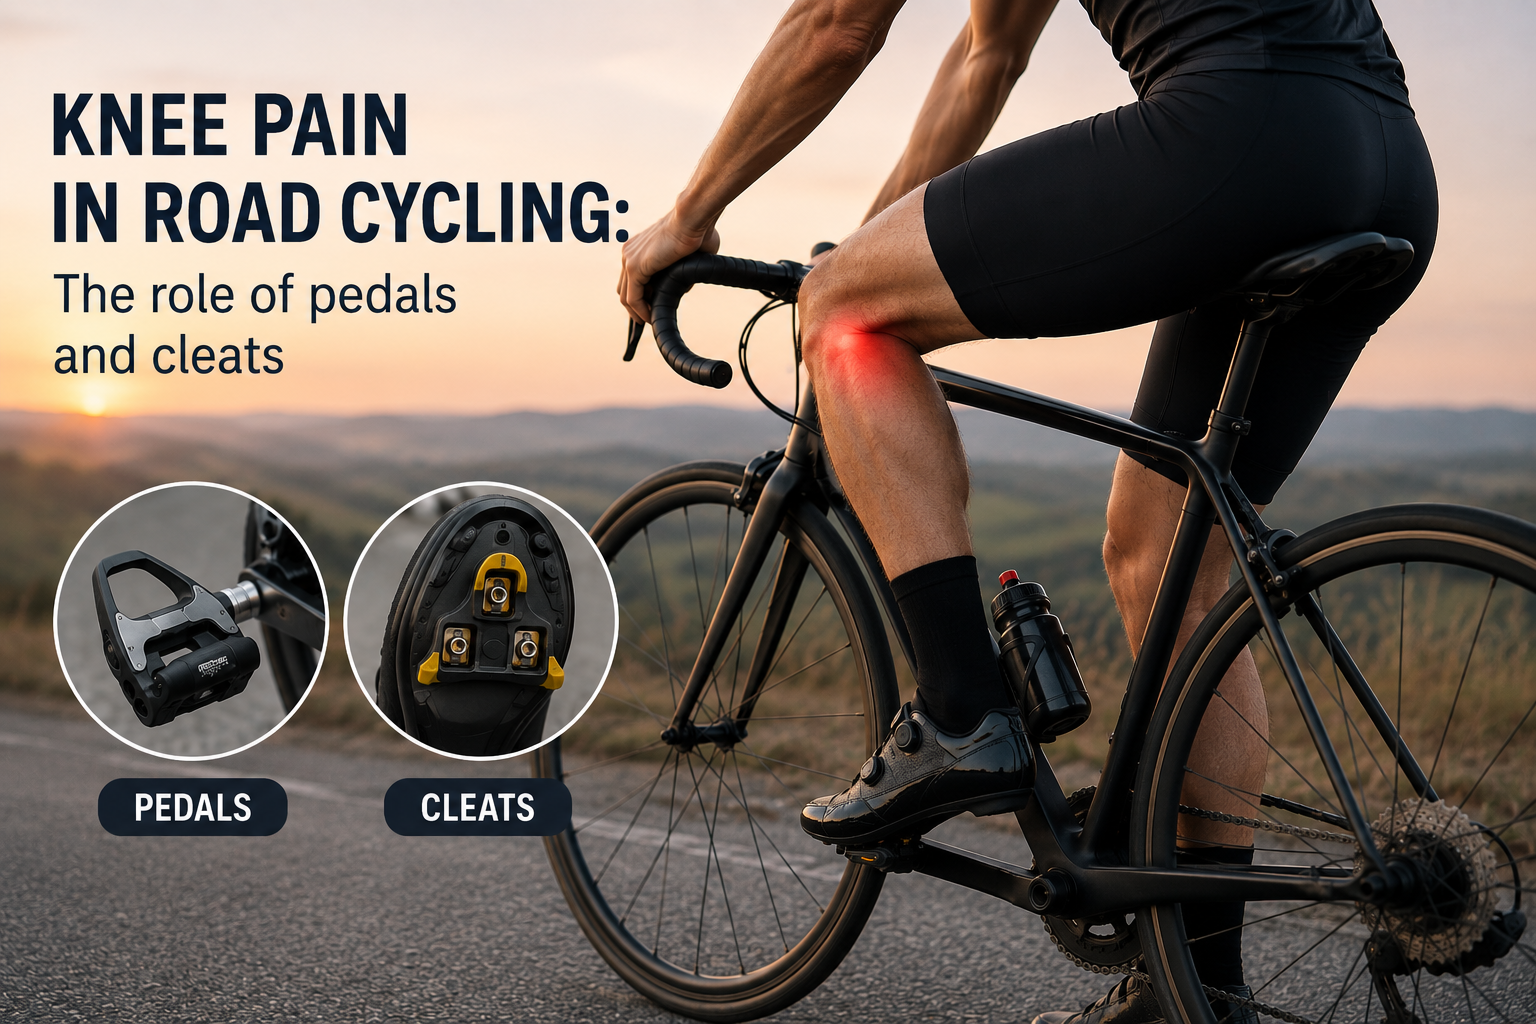
Knee pain in road cycling can have multiple causes: bike position, flexibility, warm-up, and previous injuries. Pedals and cleats are just one factor among many, often overlooked even though they are among the easiest to adjust. This guide examines the role of equipment in joint stress related to pedaling, without claiming to replace professional advice.
Warning: this article focuses solely on the role of equipment (pedals, cleats, and adjustments) in joint stress related to pedaling. It does not replace medical advice. In the event of persistent or disabling pain, consult a sports physician, physiotherapist, or bike-fitting professional before modifying your equipment.
For general criteria when choosing road bike pedals, see our complete road bike pedal guide.
1. Pedaling: a movement repeated thousands of times per ride
A cyclist averages 80 to 100 crank revolutions per minute, which means several thousand repetitions during a one-hour ride. Even a very small strain on the knee, repeated at this frequency, can create cumulative stress that eventually turns into discomfort or pain, even though it would be completely imperceptible during a single isolated movement.
It is useful to distinguish between two types of situations. Occasional pain that appears during a single unusual ride — significant elevation gain, an overly hard gear, or prolonged effort — is most often related to exercise intensity or insufficient warm-up. Recurring pain that comes back ride after ride under similar conditions, however, deserves a closer look at the equipment and its settings, particularly at the foot-pedal interface.
2. Cleat angular float: an often underestimated factor
Cleat angular float refers to the amount of rotation allowed for the foot around the pedal axle. A zero-float cleat (0°) keeps the foot in a completely fixed position. For a cyclist whose natural biomechanics involve a slight rotation of the foot with each pedal stroke, this restriction can increase the stresses transmitted to the knee, an especially sensitive joint when it comes to repeated twisting movements.
By contrast, cleats with angular float allow this natural rotation to occur freely, within a range that varies depending on the brand and model: from a few degrees with Look Keo (4.5° or 9°, depending on the cleat) or Shimano SPD-SL (2° or 6°), to the natural float built directly into the design of Time cleats.
Key takeaway: switching from a fixed cleat to a floating cleat is often the first simple adjustment worth testing in the event of recurring knee discomfort, before considering more complex changes to your position on the bike.
3. Q-factor: the distance between your feet
Q-factor refers to the distance between the two pedals, largely determined by the length of the pedal axle. This often-overlooked measurement directly affects the distance between the feet while pedaling, and therefore the alignment of the knee in relation to the hip and ankle.
A Q-factor that is not suited to your body shape can create lateral stress around the knee. As a general guideline, a wider Q-factor may be better suited to certain body types (a wider pelvis, slightly bow-legged legs), while a narrower Q-factor promotes a more compact position. This position can be more aerodynamic and is sometimes sought after in competition, but it is not necessarily suitable for every rider.
There is no universal rule that applies to every cyclist in this respect: the right setting is best found through testing and by paying attention to how you feel over several rides rather than relying on a theoretical value.
4. Other equipment adjustments not to overlook
Beyond pedals and cleats, other adjustments directly interact with knee comfort and should be checked at the same time:
- Saddle height: a saddle that is too low or too high changes the knee flexion angle with every pedal stroke.
- Saddle setback: the fore-aft position of the saddle affects the alignment of the knee in relation to the pedal axle when the crank is at the top of the stroke.
- Cleat position under the shoe: often adjustable by 1 to 2 cm forwards or backwards, and sometimes with a slight rotational adjustment, this aspect is rarely mentioned even though it is one of the most practical and quickest adjustments to test.
These adjustments fall outside the strict scope of pedals and cleats, but they are an integral part of a complete assessment when dealing with recurring discomfort: changing only the cleats without checking saddle position may address only part of the problem.
5. When the problem is not caused by the equipment
It is important to be clear about this: knee pain in road cycling can have many causes that have nothing to do with the equipment. Insufficient warm-up before exercise, an overly rapid increase in training volume, a general lack of flexibility, or a previous injury can all cause or aggravate pain, regardless of the pedal settings.
Reminder: if the pain persists despite reasonable equipment adjustments, the cause is probably elsewhere. Seeking professional advice (sports physician, physiotherapist, or bike fitter) remains the most reliable way to identify the exact cause and avoid aggravating an existing issue through repeated, unsupervised adjustments.
6. How to make gradual adjustments without causing injury
If you want to test an equipment adjustment, caution is still essential:
- Change only one parameter at a time (cleat, Q-factor, or saddle position), never several at once. Otherwise, it would be impossible to determine which change actually had an effect.
- Test the change over several short rides before assessing its effect. The body often needs several rides to adapt to a new setting, even a minor one.
- Record how you feel after each ride, so that you can objectively track changes rather than relying on a one-off impression.
- Return to the previous setting if the discomfort gets worse rather than better, and consider seeking professional advice at this stage rather than continuing to experiment with multiple adjustments.
This approach is consistent with the method already recommended for adjusting clip-out tension: gradual, documented adjustments rather than radical changes made all at once.