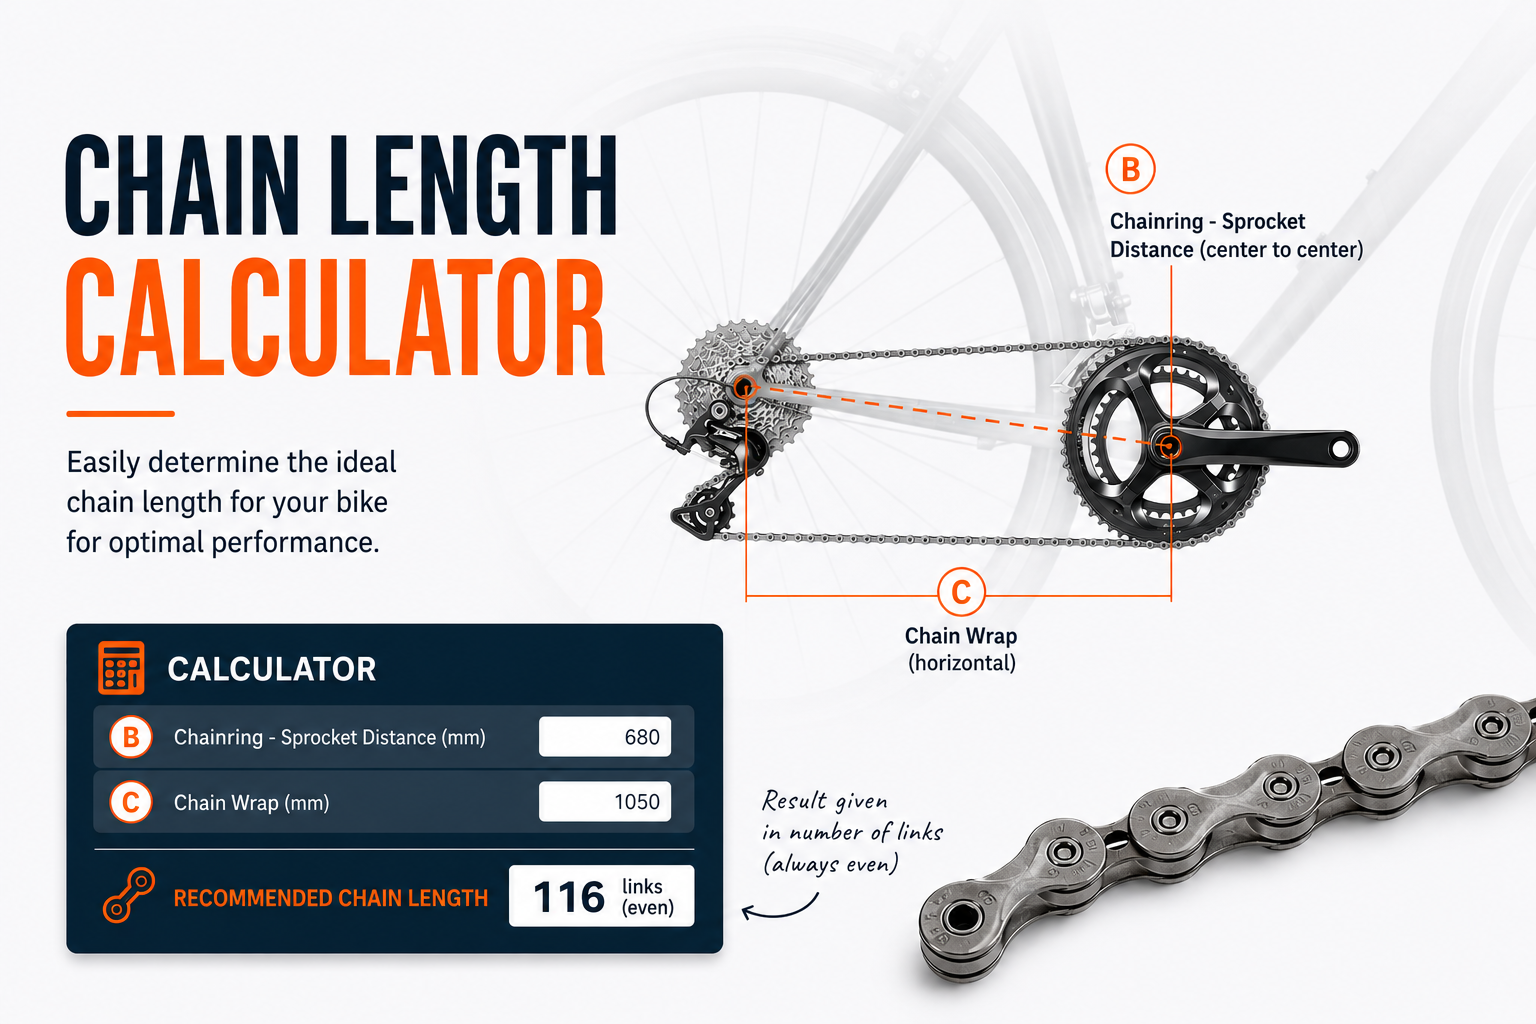
Cutting a chain too short or too long is one of the most common mistakes when replacing a chain yourself. If it is too short, it can damage the rear derailleur or completely lock up the drivetrain when using the big chainring/big sprocket combination. If it is too long, it lacks tension, is more likely to skip and wears out prematurely. Yet determining the correct length requires neither special experience nor expensive equipment: a measurement of your frame and a simple calculation are all you need.
This guide explains the different methods for determining the right chain length for your bike, with an integrated interactive calculator to get the result in just a few seconds. For general information about chains, see our complete road bike chain guide.
1. Why is chain length so important ?
The chain connects the crankset to the cassette through the rear derailleur, whose role is to take up the slack generated by gear changes. This take-up capacity has precise limits, determined by the length of the derailleur cage and the total capacity of the drivetrain (the difference in teeth between the large and small chainrings, added to the difference between the largest and smallest sprockets).
An incorrectly sized chain disrupts this balance in two opposite ways. If it is too short, the derailleur can no longer absorb the necessary slack when you shift into the big chainring/big sprocket combination: tension becomes excessive, which can damage the derailleur, pull off the derailleur hanger, or even completely lock the rear wheel while pedaling. If it is too long, on the other hand, the derailleur lacks tension on the smaller combinations (small chainring, small sprocket): the chain becomes loose, swings around, is more likely to skip and wears out faster due to imprecise guidance.
Between these two extremes, there is a range of correct chain lengths, generally within two to four links depending on the drivetrain. The calculation presented in this article is specifically designed to fall within this range on the first cut, without trial and error.
2. Methods for determining chain length
The calculation formula (Sheldon Brown method)
This formula calculates the ideal chain length from three simple measurements: the chainstay length (the distance between the crank axle and the rear wheel axle), the number of teeth on the largest chainring, and the number of teeth on the largest cassette sprocket. This is the most practical method when ordering a chain in advance, before you have the complete drivetrain in front of you. It is the method used by the tool below.
The extreme-position method
Run the new chain, without cutting it, around the largest chainring and largest sprocket, bypassing the derailleur without routing the chain through it. Then add two complete links (one inner link and one outer link) to the length obtained at this stage: this is the final length to cut. This method remains the most reliable when you already have the bike and chain available, as it takes the exact geometry of your drivetrain into account without approximation.
The comparison method
If your old chain worked properly and you are replacing it like-for-like (same chainring, same cassette), simply place it next to the new chain, link against link, and cut the new chain to the same length. This method only works if the previous chain length was actually correct — a chain that was incorrectly sized from the outset would reproduce the same mistake.
3. Calculate your chain length
The tool below applies the calculation formula presented above. Enter your frame's chainstay length and the number of teeth on your largest chainring and largest sprocket: the recommended number of links will be displayed automatically.
A standard new chain generally has 114 links: remove the number of excess links compared with the result above.
Check before cutting: this calculation provides a reliable estimate for the majority of drivetrains. Always check the derailleur tension in the extreme positions (small chainring/small sprocket and large chainring/large sprocket) before cutting your chain permanently. You can also check an already-installed chain using the manual method: 12 new links measure exactly 304.8 mm.
4. How to read and check the result
The displayed result corresponds to the total number of links to keep on your chain, not the number of links to remove. If your new chain has 114 links and the tool indicates 108 links, you therefore need to remove 6 links (3 inner/outer pairs) before reconnecting the chain.
A chain link always alternates between an inner plate and an outer plate: this is why the total number of links kept must necessarily be even, so that the chain can be properly closed with an outer plate on one side and an inner plate on the other. The tool automatically rounds the result accordingly.
Never cut to an odd number: if a manual calculation or another source gives you an odd number of links, always round to the nearest even number before cutting. A chain closed with an odd number of links cannot be properly connected using a standard quick link.
5. Common chain lengths by drivetrain type
For reference, here are some typical chain length ranges observed on common road bike setups. These values are examples only: always use the calculator or take a direct measurement for your specific bike, as the chainstay length can vary significantly from one frame to another.
| Configuration | Chainrings / Cassette | Approximate Number of Links |
|---|---|---|
| Classic road bike, compact frame | 50/34 — 11/28 | Approximately 112–114 |
| Racing road bike, standard frame | 53/39 — 11/28 | Approximately 114–116 |
| Road bike with wide-range cassette | 50/34 — 11/32 | Approximately 114–116 |
| 1x gravel bike | 40 — 10/44 | Approximately 116–120 |
Values are provided as examples for a standard-size frame; the actual chainstay length of your frame remains the key factor to check.
6. Common mistakes when calculating or cutting the chain
Confusing chainstay length with the bike's overall wheelbase: the measurement to use is the distance between the bottom bracket axle and the rear wheel axle, not the overall length of the bike or the distance between the two wheels.
Measuring with a poorly tensioned flexible tape measure: an approximate measurement off by just a few millimeters can be enough to shift the result by one link. If possible, use a rigid tape measure or ruler, properly aligned between the two axles.
Forgetting to add the two links accounted for by the quick link: depending on the method used, some calculations already include this allowance, while others do not. The formula used in our tool incorporates it directly, but if you compare the result with another source, check this point to avoid ending up with a chain that is two links too short.
Cutting to an odd number of links: as mentioned above, this is the most common mistake when a calculation is performed without using a tool that automatically rounds the result.
Not checking the tension in the extreme position before making the final cut: even with an accurate calculation, a quick physical check remains the best safeguard against an initial measurement error.
7. What to do if the result seems incorrect
If the number of links you obtain seems significantly different from your old chain (more than 4 links difference), several things should be checked before cutting: recheck the chainstay length measurement, make sure you entered the number of teeth on the largest chainring rather than the smallest one, and make sure your old chain was correctly sized in the first place.
If you are still unsure, the extreme-position method (run the new chain through the assembled bike without cutting it, then add two links) remains the most reliable way to verify the result, as it relies directly on the actual geometry of your drivetrain rather than on a theoretical calculation.