The freewheel is a crucial part of the drivetrain on a road bike. Located on the rear hub, it allows the sprockets to rotate freely when you stop pedaling. Over time—or simply for maintenance—you may need to remove it. Here's a complete guide on how to remove a road bike freewheel safely, using the right tools and techniques.
Why remove a road bike freewheel ?
There are several reasons why you might need to take off the freewheel:
-
Strange noises or grinding from the rear hub
-
Cleaning or maintaining the drivetrain
-
Replacing the cassette or the freewheel itself
-
Swapping the freehub body to fit a different standard (Shimano, SRAM, Campagnolo)
Specific features of a road bike freewheel
On a road bike, the rear wheel is designed for light weight, smooth rotation, and performance. The freewheel is attached to the freehub body, which itself is mounted on the rear hub. Different brands use different standards for freehubs:
-
Shimano/SRAM HG: the most common, up to 11-speed
-
Shimano Microspline: for 12-speed cassettes
-
SRAM XD/XDR: for wide-range cassettes (e.g., 10-50 or 10-42)
-
Campagnolo: specific splines for Campagnolo cassettes
Each system requires a specific removal tool.
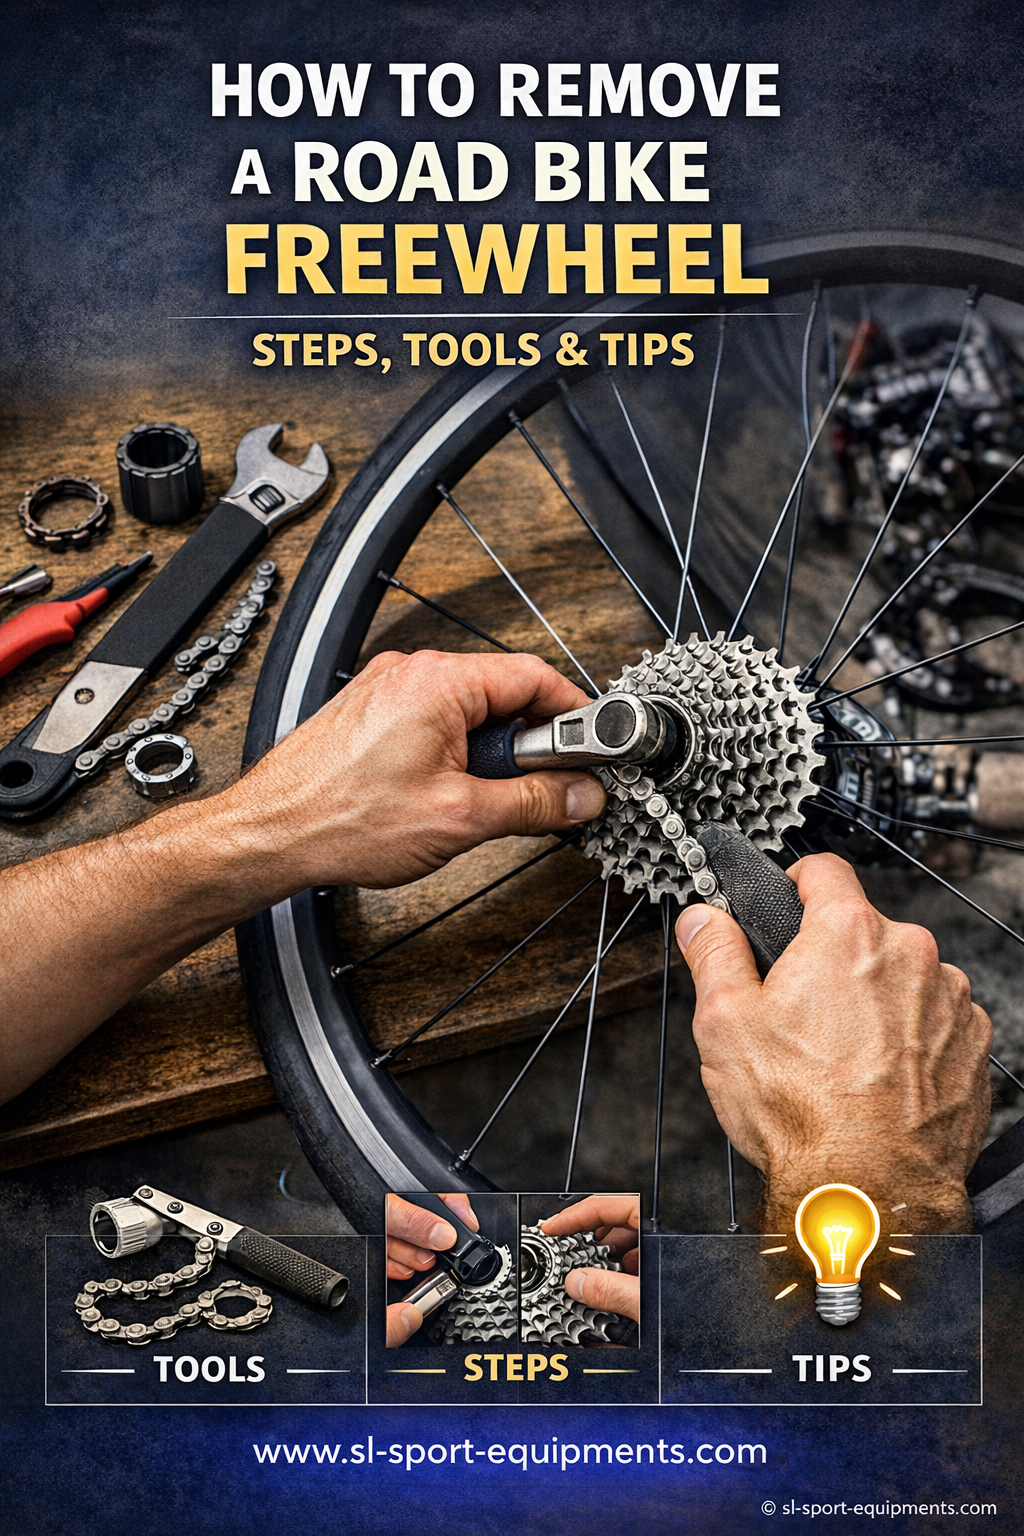
Tools you’ll need to remove a road bike freewheel
To remove a road bike freewheel, you’ll need:
-
A cassette lockring tool that matches your cassette brand
-
A chain whip to hold the cassette in place
-
A wrench or adjustable pliers
-
A workstand or stable surface to hold the wheel
Tip: Always check the type of freehub body you have before disassembling anything.
Step-by-step: how to remove a road bike freewheel
1. Remove the rear wheel
Start by taking off the rear wheel. Open the quick release or unscrew the thru-axle, depending on your setup.
2. Remove the cassette
Use the chain whip to hold the larger sprockets in place. Insert the cassette tool into the lockring and turn counterclockwise to unscrew it.
Take off all the sprockets and spacers, and keep them in order for reassembly.
3. Access the freewheel
Depending on the model, the freewheel may be threaded or slipped onto the hub body. Some systems require a hex key (Allen wrench) or a proprietary tool—like on Mavic or DT Swiss hubs.
4. Remove the freewheel
Carefully slide off the freewheel. Check the condition of the pawls, bearings, and internal parts, and apply lubricant if needed. Watch out for small springs or pins inside the mechanism.
Maintenance tips
-
Lightly clean and grease the pawls if accessible.
-
Avoid thick lubricants that attract dirt.
-
If there’s play or ongoing noise, consider replacing the freehub body.
In summary
Removing a road bike freewheel is a manageable task with the right tools and technique. Whether you're doing routine maintenance or upgrading components, this step helps keep your rear wheel and drivetrain running smoothly. Always take note of your bike’s specific standard to ensure a clean and efficient reassembly.